Open Custom Domain Settings
Go to your Composite Dashboard and navigate to Settings → Custom Domain.Choose between Custom Domain (subdomain) or Subpath Proxy based on your needs.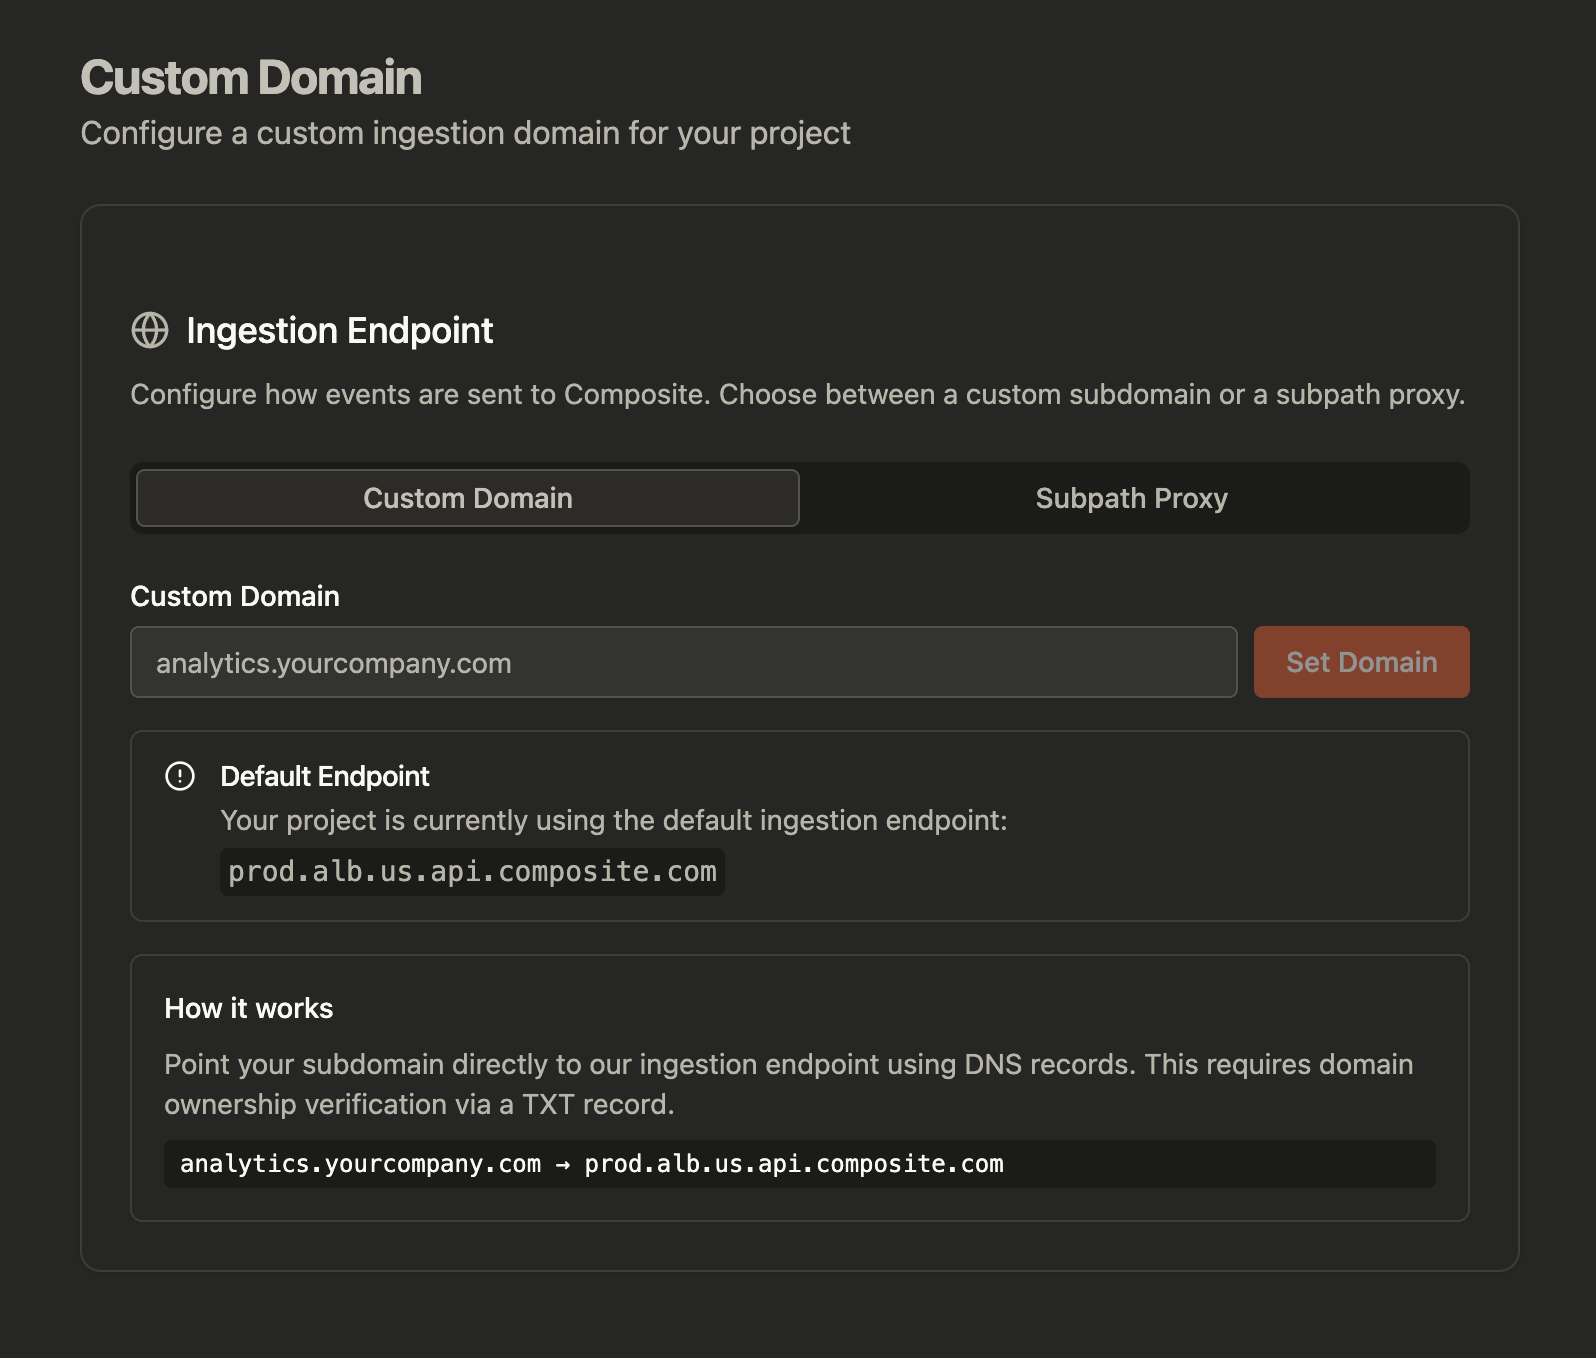
Enter Your Subdomain
Enter your desired subdomain (e.g.,
analytics.yourcompany.com) and click Set Domain.The dashboard will generate the DNS records you need to add.Add DNS Records
Add the following records to your DNS provider:
2. CNAME Record (Routing)
| Field | Value |
|---|---|
| Type | TXT |
| Name | _composite-verify.analytics.yourcompany.com |
| Value | composite-domain-verify=<your-verification-code> |
| Field | Value |
|---|---|
| Type | CNAME |
| Name | analytics.yourcompany.com |
| Target | prod.alb.us.api.composite.com |
DNS changes typically propagate within minutes, but can take up to 48 hours in rare cases.
Verify Domain
Click Verify Domain in the dashboard. Once verified, your custom domain is ready to use.
Troubleshooting
Domain verification failing
Domain verification failing
Check that:
- The TXT record name matches exactly what’s shown in the dashboard
- DNS has propagated (use dnschecker.org to verify)
- There are no typos in the verification value
Requests not reaching Composite
Requests not reaching Composite
Verify:
- The CNAME record is pointing to
prod.alb.us.api.composite.com - Your SDK’s
apiHostmatches your custom domain exactly - Your manifest includes the custom domain in
host_permissions